The Tongariro Crossing is one of New Zealand’s most popular day hikes and having seen pictures of the crowds it draws I was a little hesitant about giving a go. We’d recently hiked in the completely empty mountains of Kyrgyzstan so held some high standards for tranquillity and scenery.
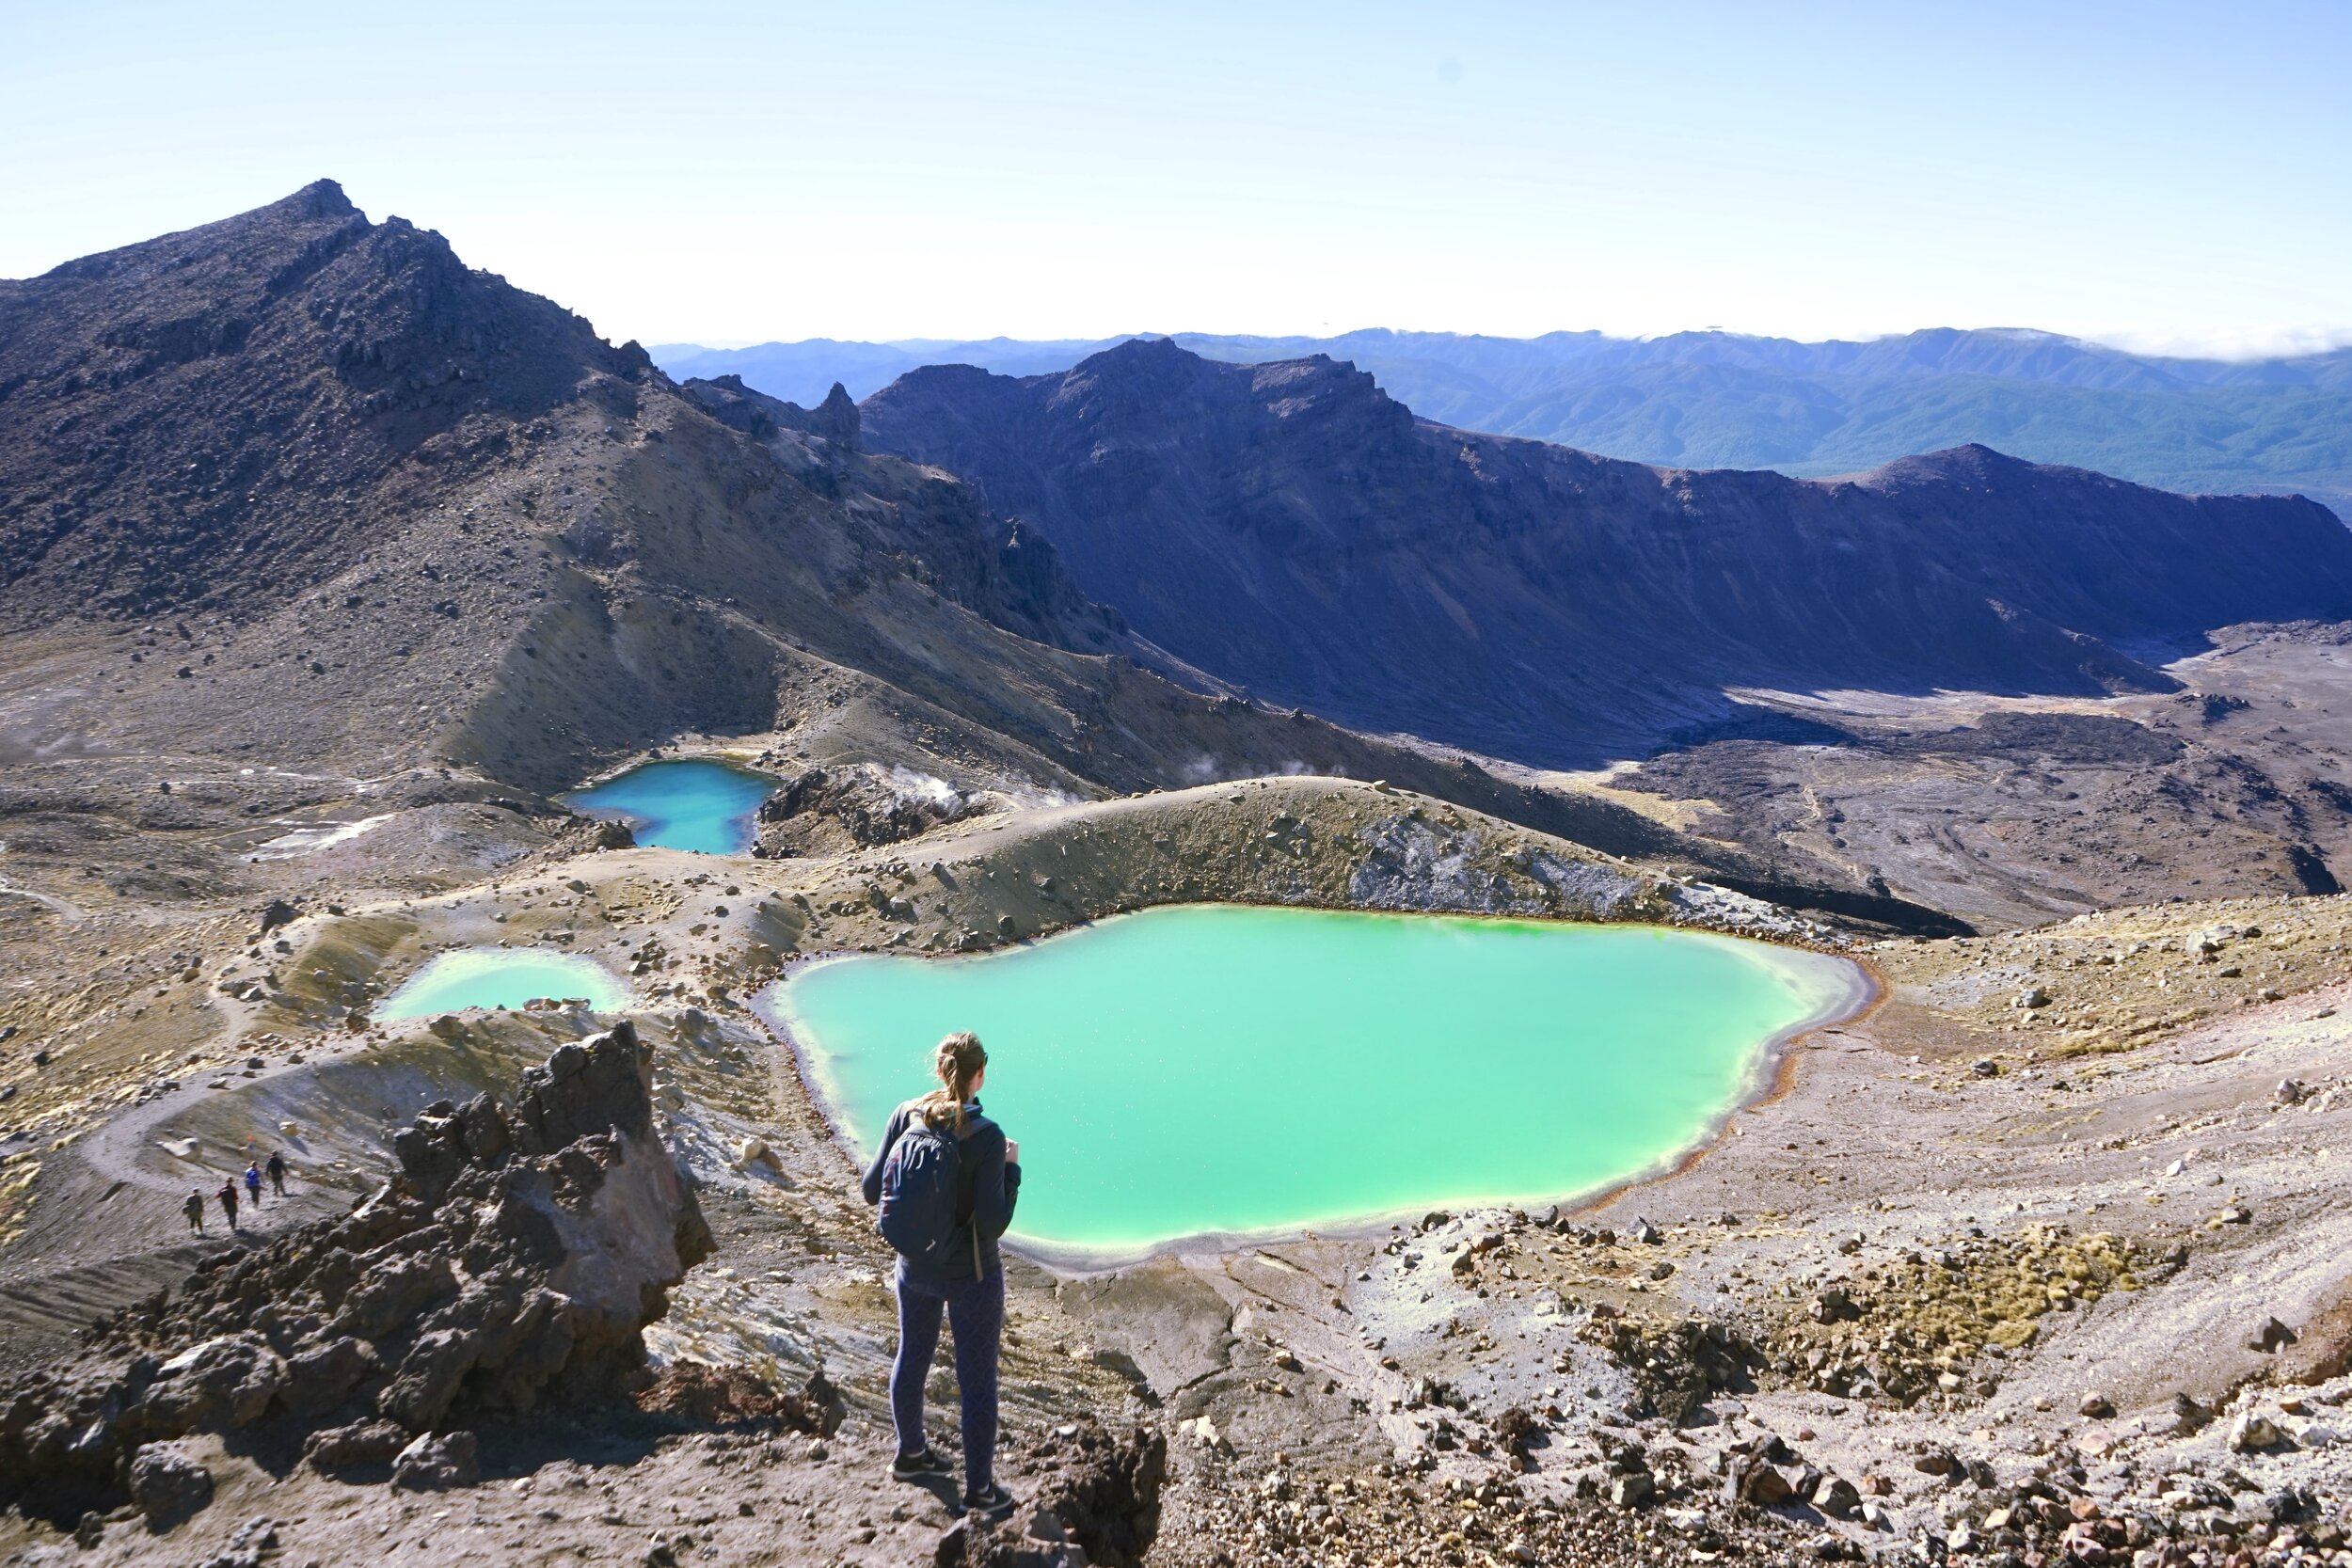
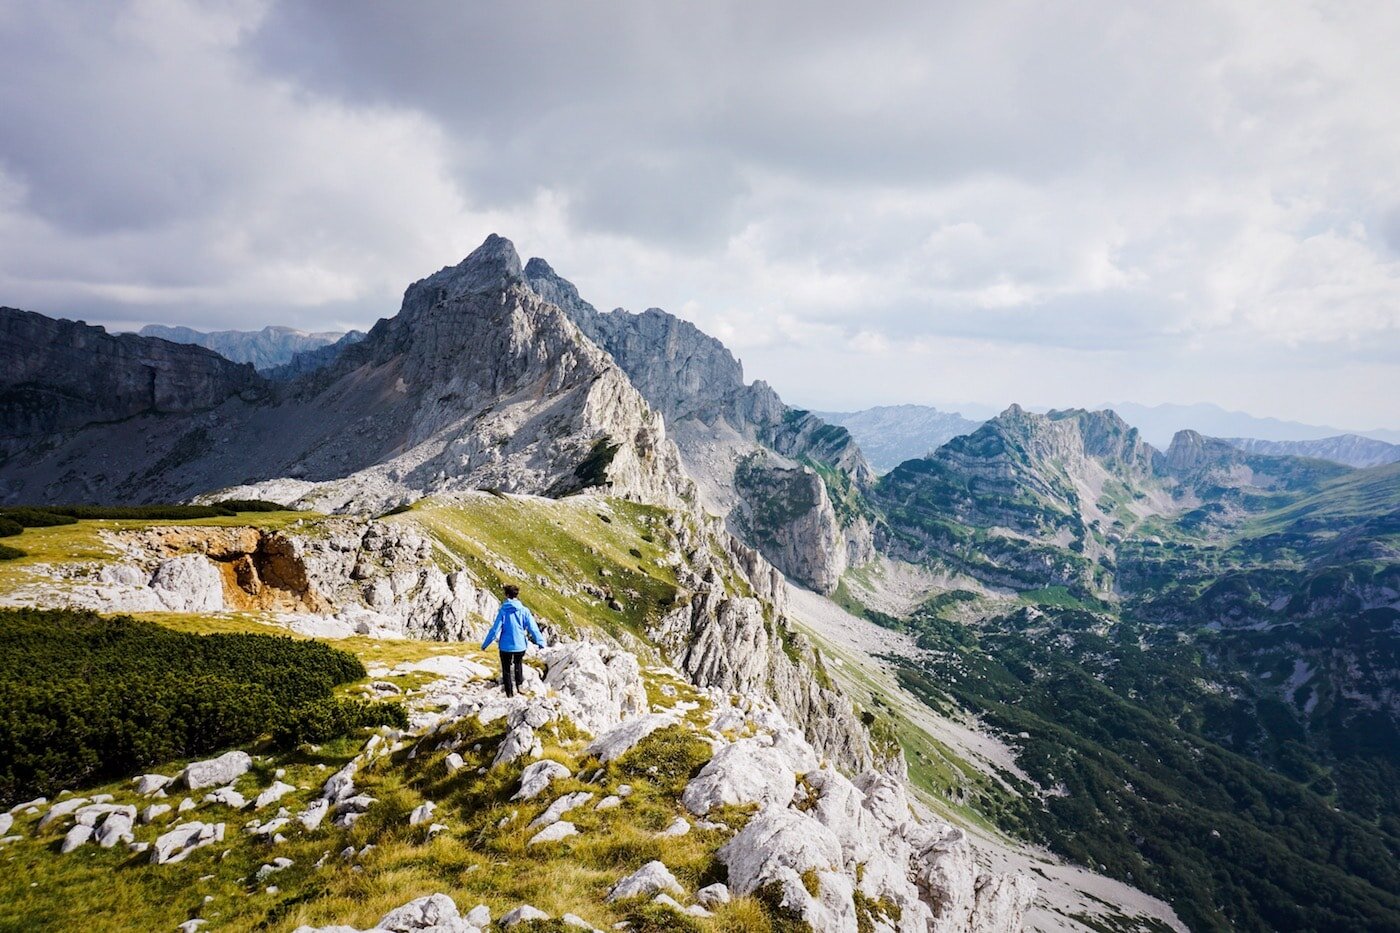
Luckily the Tongariro Crossing hike did not disappoint. We found the scenery utterly breath-taking and loved the contrasts between the bush and rocky volcanic terrain. The crowning jewel is, of course, the picture you’ve all seen on Instagram of the Emerald Pools but yes, they really are that turquoise! Put that view next to the mountain used as Mount Doom in The Lord of the Rings and it makes for a pretty amazing backdrop.
Tongariro Crossing Basic Facts
Length: 19.4km
Duration: 6-8 hours (we completed it in 6.5 hours including a lunch stop)
Elevation: Begins at 1120m and climbs to 1886m
Difficulty: Moderate-Difficult
Tongariro Crossing Track Description
The Tongariro Crossing begins with an easy-going walk across a partially board walked track. It leads through tussock and rocky landscape until you reach what is known as ‘the Devil’s Staircase’. This is a steep uphill climb with views of Mt Taranaki to your back and the volcanic peaks of Mt Tongariro and Mt Ngarauhoe in front.
The track plateaus for a while before climbing again to the Red Crater and then the peak of the hike which gives stunning views down to the Emerald Lakes. The descent down to the lakes is more of a scramble down rocky scree but once at the bottom the hardest part is over.
From there it’s a short walk to the beautiful Blue Lake and then a two hour downhill hike that zig-zags its way down the mountain and eventually through some native bush and to the carpark.
When to do the Tongariro Crossing
Winter (May-October) is not recommended unless you have a serious sense of adventure or really love the cold.
We did the Tongariro Crossing in April and were pleasantly surprised by the weather. We chanced upon a crisp clear day which started with us rugged up in puffer jackets and merino but quickly had us shedding layers down to our T-shirts.
Summer is the most popular time and as a result, the trail can be packed with tourists and locals alike. You can avoid some of the crowds by getting an early start or doing the trail in the opposite direction (although this is a bit harder).
Tongariro Crossing Weather

This hike isn’t called an ‘alpine crossing’ for nothing. It literally takes you through the mountains and as a result, the weather can be very unpredictable and changeable. During the summer the weather is generally more stable but wind, rain and even snow can occur any time of year. Make sure you check the forecast a few days in advance and prepared for a change in weather during the day.
Tongariro Crossing Difficulty

The Tongariro Crossing is a long day hike and definitely requires a moderate level of fitness. But the time allowed for is generous and most people should be able to complete the track including children who have some hiking experience.
The track can be much more difficult in the winter months when there is likely to be snow and cloud cover making the trail more difficult to navigate. If you aren’t an experienced hiker or you’re doing the hike with children we suggest going outside of the winter season.
Tongariro Crossing Shuttle
The Tongariro Crossing hike begins a 20-minute drive from the town of National Park. Unless you are planning to take two cars and leave one at the end of the hike (parking is limited to 4 hours during the summer months) you will need to book shuttle transport to the start and back from the end of the Tongariro Crossing.
There are a few different companies who can arrange transport and there are various pick-up points in the surrounding towns. We booked through the aptly named ‘Tongariro Crossing Shuttle’ company and were very happy with the friendly service. The trip cost $40 return per person and once you have booked your drop off time you are free to jump on the next return shuttle whenever you finish the hike.
The shuttles leave from National Park every hour from 6-10 am and return every hour from 1.30-5.30 pm. If you are running later than this it’s possible to arrange an extra shuttle. Tickets can also be cancelled or changed with no charge.
Do you need a guide for the Tongariro Crossing Hike?

The hike is clearly marked and the track is visible however this may be more difficult in bad weather. If you are alone, not a confident hiker or simply want to know more about the area you can hire a local guide or join a group tour doing the Tongariro Crossing hike.
If you choose to do the walk in winter you should have a guide and crampons.
Tips for doing the Tongariro Crossing

Check the weather – The weather is so changeable along this track it pays to know what’s coming. Most accommodation in National Park and the surrounding areas will be able to update you on the weather (our hostel had a board at reception) or you can use Met Service to see the latest forecast.
Check volcanic activity – Yes theses are active volcanoes. There will likely be clear warnings if there is any volcanic activity of concern in the area but you can check up on it here.
Book shuttle in advance- Book your shuttle a couple of days before so you have it all sorted. They can be cancelled or changed free of charge so it’s safer to have something booked in.
Take a phone- There is signal along most of the track so if there’s an emergency it’s great to have a means of contact. You can also use a map on your phone to track your progress, we use an offline app called Maps.me.
Look behind you- The views are stunning but don’t forget the ones behind you! We particularly enjoyed the views of Mt Taranaki in the sunrise as we looked back from the start of the track. One of our favourite shots is looking back at the Emerald Lakes with Mt Ngarauhoe in the background as walked towards the Blue Lake. The landscape was so epic and there’s a little trail of people coming across the plateau to give it perspective.
Being a responsible hiker on the Tongariro Crossing
There used to be signs and trails up both Mt Tongariro and Mt Ngauruhoe (Mt Doom) but these have been removed by the Department of Conservation as the mountains are considered sacred by the native Maori people and it is disrespectful to climb them.
I can’t believe that I have to even say this but there are some idiots out there so please don’t litter! Take your rubbish with you back to town to be disposed of properly.
There are toilets every 1-2 hours along the track but if you really can’t hold on make sure you go well away from the track in a safe area and cover your number twos.
What to pack for the Tongariro Crossing Hike

Water-There is nowhere to fill up drink bottles on the entire hike so make sure you take enough water for a full day.
Snacks- Likewise, there are no shops along the track so make sure you pack something to eat. There are shops in National Park to stock up on hiking essentials such as muesli bars and fruit.
Warm clothing- Its a hike in the mountains so of course it can get cold especially if you take the early shuttle. Layers are key though as it can get warm during the hike, we ended up in T-shirts when we did the Tongariro Crossing in April. If you are doing the hike in winter make sure you take several layers and a warm outer shell such as a down jacket. Merino wool is also our best friend for hiking, we have Icebreaker hoodies which are lightweight and super warm.
Rain jacket- Even a beautiful sunny day can turn to rain (or even snow) in the mountains so make sure you have a waterproof layer, for you and your bag/camera! Grab a backpack rain cover here.
Camera- The views are utterly spectacular and you won’t want to miss the photo opportunities around every corner.
Sunscreen- Even on a cloudy day you can get burnt in NZ. Make sure you protect yourself. A hat can also be a good idea if you get caught hiking in the midday heat.
Hiking shoes- As with all our hikes, we did it in running shoes and had no issues. The path is clearly marked and besides some rocky areas, it can be easily walked. If there’s a chance of snow when you’re completing the Tongariro Crossing you might want to consider taking hiking boots.
Toilet paper or tissues- There are several long-drop toilets along the track for any urgent needs but they may not have any tp.
Tongariro Crossing Accommodation
There are several towns you can stay in before and after doing the hike, it just depends how far you want to drive at the beginning and end. Some of the most popular places to stay are National Park village, Ohakune or Taupo but also consider Whakapapa or Turangi if it fits with your route and requirements.
Camping
If you have a camper van or a tent there are campsites in Whakapapa or on the road to the start of the Tongariro Crossing. Mangahuia Campsite is run by the Department of Conservation and is basic with a long drop toilet and no drinking water ($15 pp/pn). Discovery Lodge offers camping options from $18 pp/pn and has toilet, shower and cooking facilities. Whakapapa Holiday Park has similar facilities and great reviews ($23 pp/pn)
Where to stay in National Park
National Park is the closest with easy shuttle options and some good accommodation choices. It’s a 20-minute drive to the start of the track. There is a pub and a café/restaurant as well as a small shop to get any supplies you may need.
There are plenty of great lodges in National Park with rooms to suit every budget. We stayed at Howard’s Mountain Lodge which was great. It had a backpacker vibe with a communal kitchen, gear hire and shared bathrooms.
For something a little more boutique try Tongariro Crossing Lodge which is a homely little B&B with lovely gardens and an excellent breakfast.
If you’re feeling fancy or want a bit of luxury after your hike Tongariro Springs Boutique Suites offers hot pools and a spa. It is located in a more secluded spot just out of the town and has views of the park from the rooms. A great place to treat yourself after completing the Tongariro Crossing.
Where to stay in Ohakune
Ohakune is much bigger than National Park and has a supermarket and many cafes, bars and restaurants. From Ohakune it is a 45minute drive to the start of the Tongariro Crossing track. There are several shuttle companies that offer this trip.
For backpacker dorms or budget cabins with a large communal kitchen and lounge area Ohakune Central Backpackers comes highly recommended.
For more upmarket accommodation try either Ohakune Central Motel and Lodge in the town centre or head out to Cairnbrae House for peaceful gardens and mountain views with breakfast included.
Where to stay in Taupo
Taupo is a major town and a popular tourist stop with lots of other activities around. If you have a few days you may prefer to base yourself here before and after the hike. It’s over an hour to drive to the start of the track which means an early morning with a late finish but it can be worth it to not have to move accommodation for a few days.
Check out Taupo accommodation options here.
If you are in a group or want something more self-contained there are plenty of Airbnb options in the area too. Sign up and get $25 off your first stay here.
you might also like…


Make your Venice fantasies come true with this dream budget hotel on the Grand Canal.